This useful plugin makes it easier to clone or migrate your WordPress site.
Cloning your WordPress website is a convenient approach to backup your data or move them to a staging or live environment. Using a WordPress plugin is the most convenient method, especially if you’re new to the procedure.
Duplicator is an outstanding WordPress plugin for replicating, cloning or relocating a website. We’ll walk you through the process of moving your website to a staging environment using Duplicator.
Step 1: Install and Configure the Duplicator Plugin
To begin, download and install Duplicator from the WordPress plugin directory. Navigate to Plugins > Add New on your WordPress dashboard.
To get started, search for Duplicator and install and activate the plugin when it appears.
Step 2: Create a New Package

After you’ve installed Duplicator, you’ll need to download your website files as well as the Duplicator installer. You’ll need to upload these to your new server in the following stages. This will be our own PC in this case: localhost.
To begin, make downloadable copies of your website as well as the installer from your present website. Begin by returning to the WordPress dashboard.
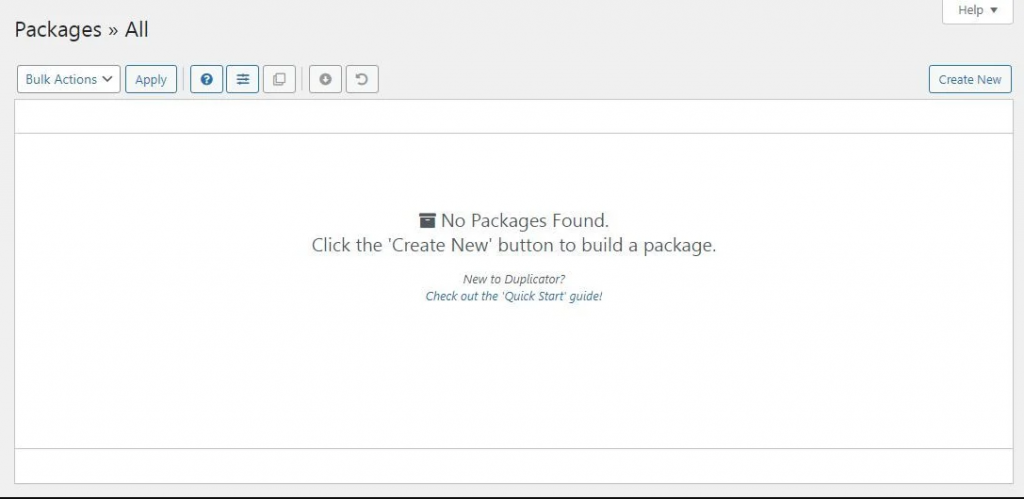
There is now a new Duplicator tab in the menu on the left. To begin, click this item, then click Create New > Next to begin a scan.
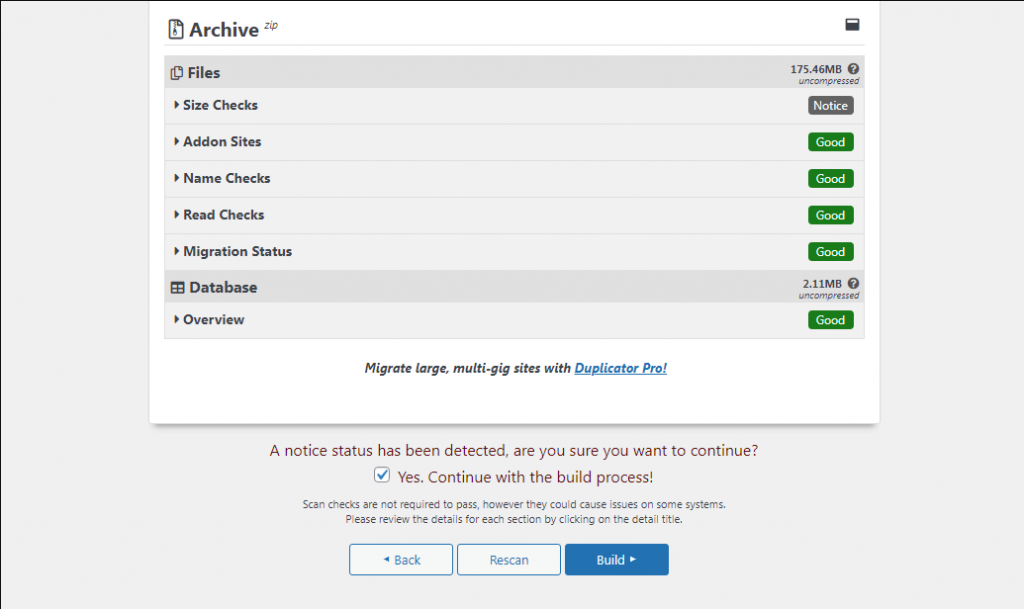
This is where the plugin verifies that everything on the backend is in order. If there are any problems, they will be highlighted on this screen. If none are available, simply click the Build button at the bottom of the screen.

In our case, you may notice one alert—this is to emphasize that the scan detected no huge files. The plugin expects to detect and compress huge files, however, there are none because this is a test installation with very little content. We’ll keep going with the procedure.
You’ll have finished one-half of the procedure after you click the Build button. You will now be able to download two files. The first is the archive, which contains all of your online content and data. The Duplicator installer is the other.
Please download both of these files.
The following step will teach you how to upload these files to your staging website.
Step 3: Place both files in the installation’s root folder.
Make a new folder in your local WordPress installation’s root directory. This is the htdocs directory/folder if you’re using MAMP.
You may call the new folder whatever you like. Just make sure it doesn’t include any other files but your website archive and the Duplicator installation.
Step 4: Create a New Database

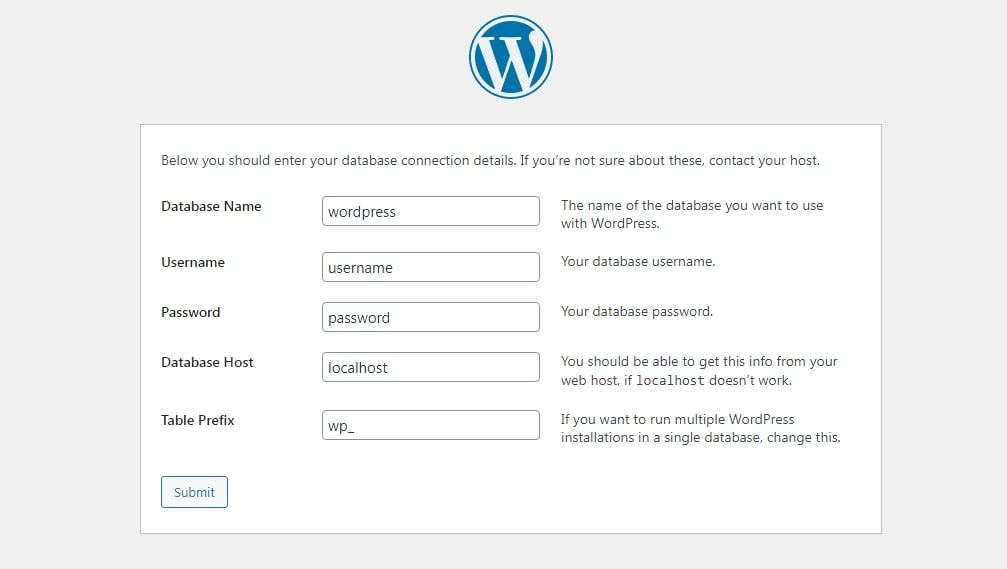
To save the files downloaded from your WordPress backend, you’ll need to establish a new database.
Log in to phpMyAdmin on your web browser and go to Tools > phpMyAdmin > Databases > MySQL Databases > Create New Database.
Step 5: Execute the Installer
Using a browser, navigate to the installer.php script on your local webserver. Localhost/mywebsitefolder/installer.php is an example of a URL.
Replace mywebsitefolder with the name you gave the new folder in step three above.
This will execute the Duplicator installation script that you downloaded in step two from your WordPress backend. The remainder of the procedure is simple.
At the bottom of the screen, click Next. After that, WordPress will ask you to log in to your new website to ensure that everything is in order.
Step 6: Access Your New Staging Website
As the last step, log in and have a look around to ensure that everything is operating properly.
Normally, you should also take the time to remove the installation files, as they are no longer needed and might pose a security risk. However, Duplicator will handle this for you, so you won’t have to do anything else.
Although we utilized a local hosting environment, you are not required to host your staging website locally. A staging website may be created in at least six distinct methods!
Using Duplicator, Clone Your WordPress Website Like a Pro
Duplicator makes cloning your WordPress website reasonably simple. Installing the plugin, obtaining a clone of your website, and posting it to a separate server are the primary steps.
While you’re about it, it’s worth mentioning that there are alternatives to MAMP for local staging. In most situations, XAMPP and a few others function just as well.