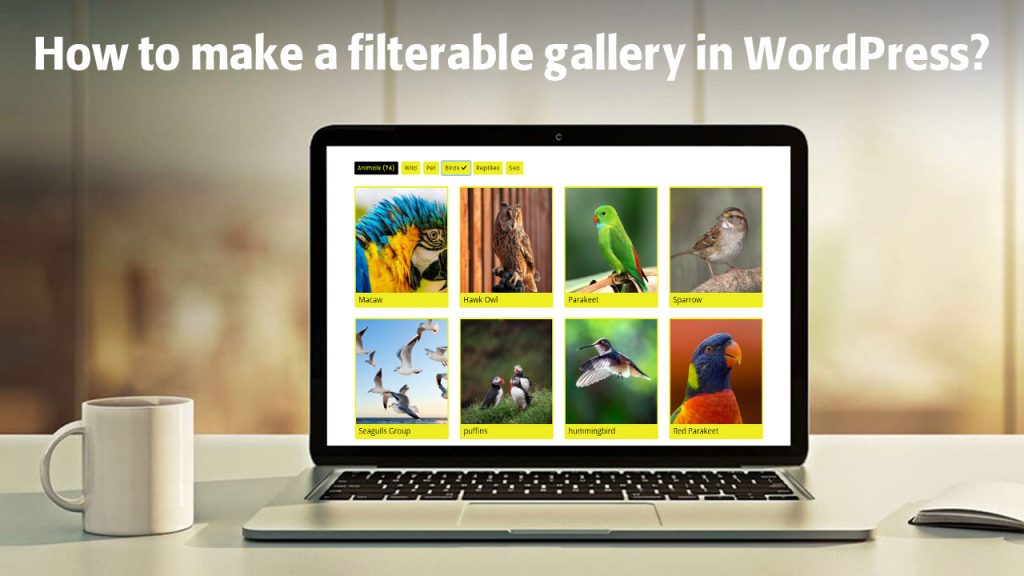
Photo galleries are an essential part of the website nowadays. Many bloggers, travelers, photography, e-commerce, or online store websites usage filter galleries to categorized their images and works as the gallery. The galleries attract visitors to spend more time exploring the website. If you already had a filter with images then it simply to bowser related images.
So, who to make a filterable gallery in WordPress?
The answer is, you can make a filter gallery on your website within a few minutes only in three steps. For this, you need a filter gallery WordPress plugin install and active on your website. Download the below free filter gallery WordPress gallery plugin from WordPress.org and install it on your website.
Step 1 ) Create Filters
Go to the Filter Gallery plugin menu and follow the below screenshots:

Click on the “Create New Gallery” button to start creating a gallery.


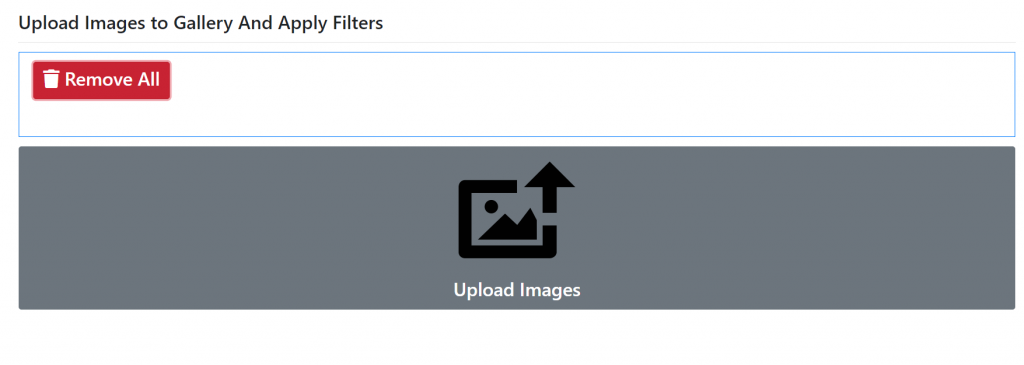
Step 2 ) Add images and Assign Filters


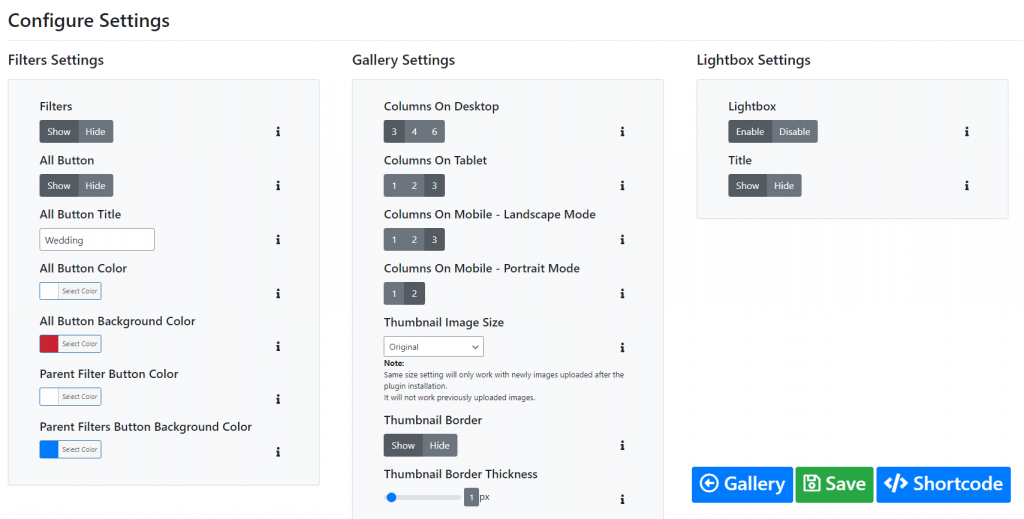
Step 3 ) Configure Settings
In this step, we will apply the desired setting in our filter gallery and copy the shortcode.


Publish The Filtrable Photo Gallery
We will create a page, and add the copied shortcode in the shortcode block. And click on the publish button to make this gallery page live for the public.

Now have look at the gallery page for the final preview.

Using filters above the gallery you can filter the images and click on filtered images to get a larger preview of images.
The Filter Gallery also offers a paid version with more functionality and necessary options like the Parent and child filters combination, gallery image description with internal and external links, multiple column layouts, advance sorting options, extra lightbox, and gallery settings options.
You can check and buy the Filter Gallery Pro plugin using the below buttons.